7 Useful Tips For an At-Home Manicure
We all love the pampering treatment we get at the nail salon and how beautiful our fingers and toes look immediately after our appointment. However, getting to the salon every week or two is not in the time schedule or budget of many beauty lovers. If you’re looking to pamper yourself and achieve gorgeous nails without spending an exorbitant amount of money, keep reading to discover seven tips for an at-home manicure.
1. Get the Right Tools

One of the main differences between a salon manicure and an at-home replica is that a salon has an expanse of fancy tools available that are necessary for shaping and smoothing your nails to clean perfection.
You can find tools similar to those used in salons at most drugstores. Invest in a cuticle-cutter, a callus remover, and a nail buffer. Make sure to use these tools carefully to prevent damaging the delicate skin around your nails or your nail bed itself.
2. Prepare a Scrub
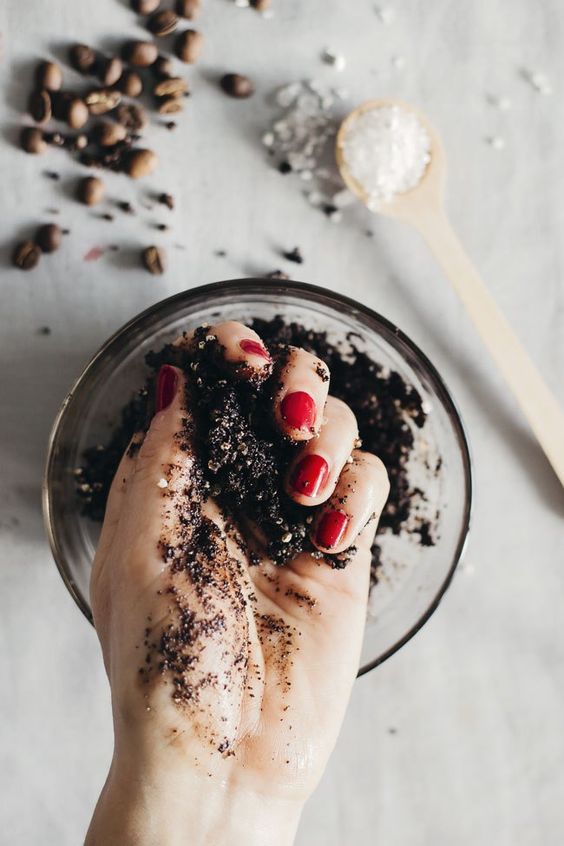
Deeply cleanse your hands and make them extra smooth with a hand-made scrub. A DIY coffee scrub helps your hands feel super soft. Simply mix together coffee grounds, sugar, and olive oil until the mixture forms a workable paste.
Massage the scrub into your hands, wrists, and forearms for at least thirty seconds. Then, rinse your hands in warm water to thoroughly clenase them of the scrub.
3. Moisturize

After you massage your hand-made scrub into your hands, it’s important to add moisture to them to nourish your skin and prevent it from getting dry. Moisturize your hands with a liberal amount of heavy lotion or cream moisturizer. Make sure that the lotion you use includes active moisturizing ingredients, such as coconut oil, jojoba oil, or shea butter.
4. Paint Thin Layers
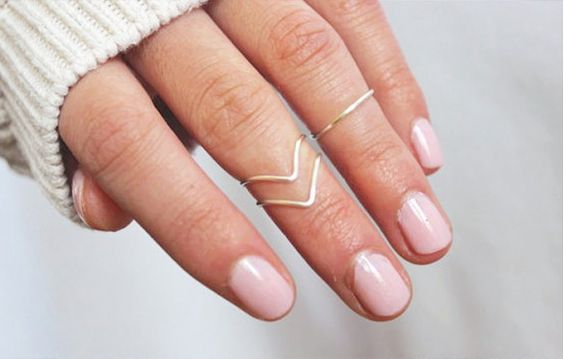
When you finally get around to painting your nails, it’s important to paint them using multiple thin layers. If you try to paint your nails in one thick layer, you’ll almost certainly end up with a bumpy, smudged glob.
By painting your nails in multiple thin layers and letting each layer dry in between coats, you can achieve a smoother, more even manicure that lasts longer, too.
5. Wipe Away Mistakes
No matter how careful you are, you’re almost guaranteed to make at least one mistake while painting your nails. Don’t worry about the excess nail polish that makes its way onto your skin or cuticles while you paint your nails, but don’t leave it to clean up later either.
Instead, keep a Q-tip dipped in nail polish remover at the ready while you paint your nails. Every time you mess up, use the dipped Q-tip to immediately wipe away errors before they set and become more difficult to remove.
6. Don’t Forget a Top Coat
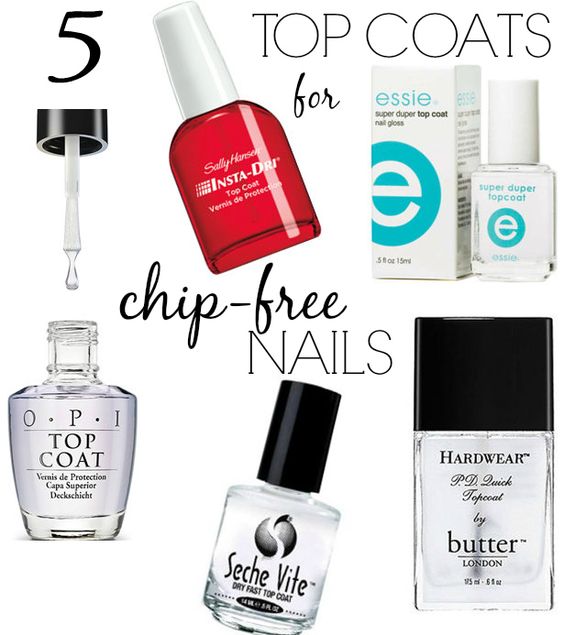
Applying a top coat over your colored polish is an extremely vital step of your at-home manicure process. The top coat layer helps seal your polish into your nail and add a glossy, finishing touch to complete your perfect manicure.
7. Use Quick-Dry Agents
When you go to a nail salon to get a manicure, the salon likely gives you plenty of time at the end of your appointment to allow your nails to dry before you leave. When you paint your nails at home, you’re much more likely to smudge and ruin them.
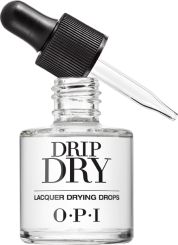
To prevent this from happening, use a quick-dry agent, such as a quick-try top coat or spray to set your polish immediately and eliminate the risk of smudges and smears. OPI offers several different quick-dry agent products, including a spray and liquid quick-dry drops.
The next time you’re feeling like treating yourself to some ‘me time’, use this post to learn seven tips for an at-home manicure that can help you create the results of a professional salon appointment from the comfort of your own home.

