20 Easy Nail Designs You Need to Try – Latest Nail Art Trends & Ideas
One of the best parts about visiting a nail salon to get your nails done is the designs that professional manicurists can apply to your nails effortlessly. While creating your own nail designs on your nails at home without the help of an employee at a nail salon can seem like an intimidating and daunting prospect, DIY nail designs don’t have to be left to professional nail artists. There are plenty of simple yet sophisticated and beautiful nail designs that you can create on your own nails from the comfort and convenience of your own home without having to pay a professional manicurist an extra five bucks to paint them on for you.
Read on to discover these simple easy nail designs you need to try.
1. Polka Dots
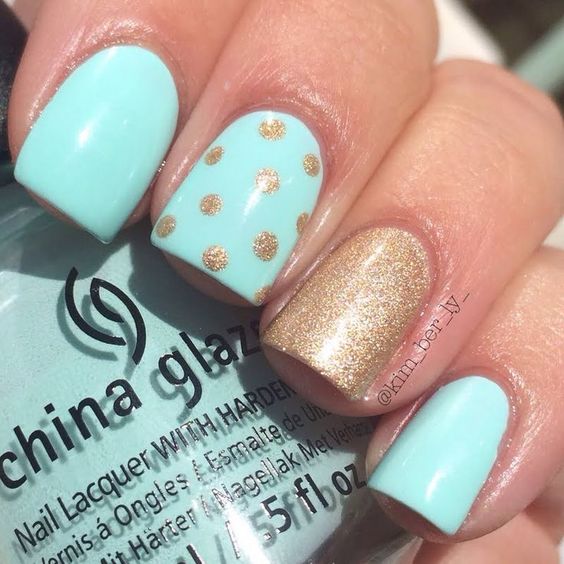
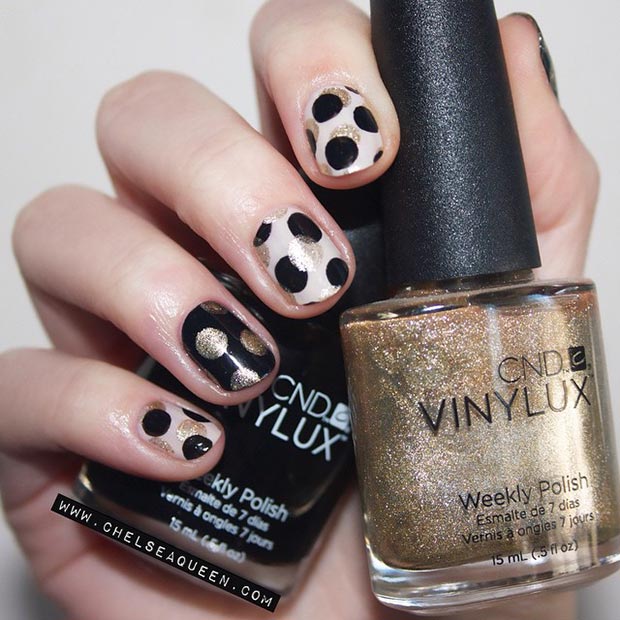
Polka dots are one of the easiest nail designs to achieve at home without frustration or too much precision. All you need is a standard sewing pin.
Start with a light base polish color, like the mint green in the picture above. Then, dip the rounded head of the sewing pin in a darker polish color of your choice. Let your base nail color dry, then gently collide the coated head of the pin with the surface of your nail to create small, flawless polka dots.
2. Heart
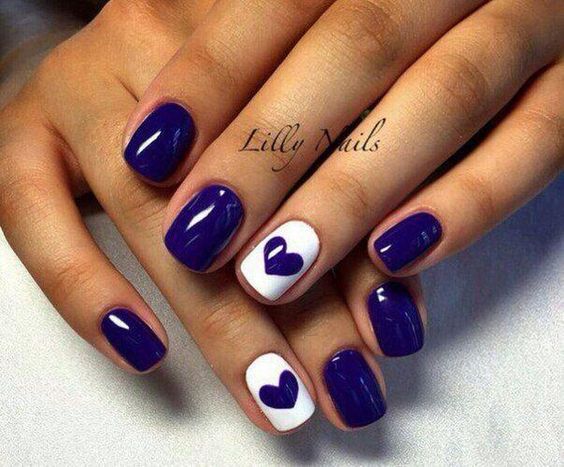
Hearts are another simple nail design that looks complicated but is easy to apply yourself.
You can use a sewing pin for this design as well. Dip the head of the pin in polish and create two large polka dots in the center of your nail over a light base polish color. Then, gently connect the two dots into a pointed base to create an adorable heart shape.
3. Daisy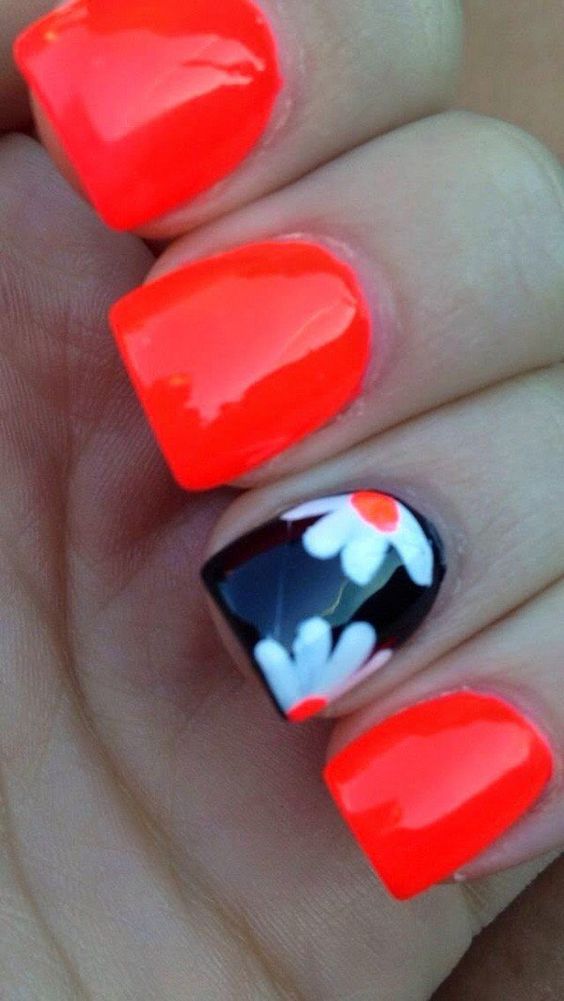
A half daisy nail design on the edge of your nail takes a bit more precision than hearts or polka dots, but it’s still definitely doable.
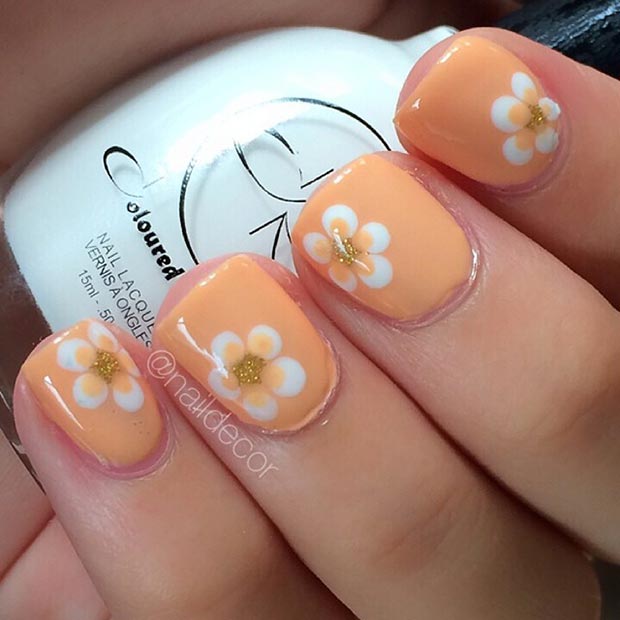
Start with polka dots again. Place four small dots near the edge of your nail to create the petals of the daisy. Extend the dots downward and draw them together at the edge of your nail. Wait for the polish to dry, then place a polka dot in a different color right at the edge of your nail as the center of the flower.
4. Rhinestones
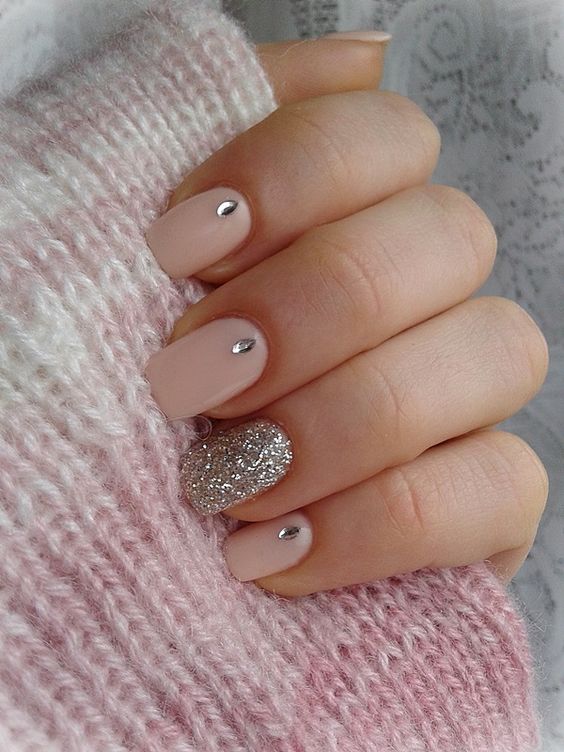
Adding rhinestones to your nails is an effortless way to amp up your manicure to a professional level.
You can buy small rhinestones at any art supply or beauty supply store. While your nails are still wet, simply press a small rhinestone to the base of each nail to instantly add some sparkle and sophistication to your manicure.
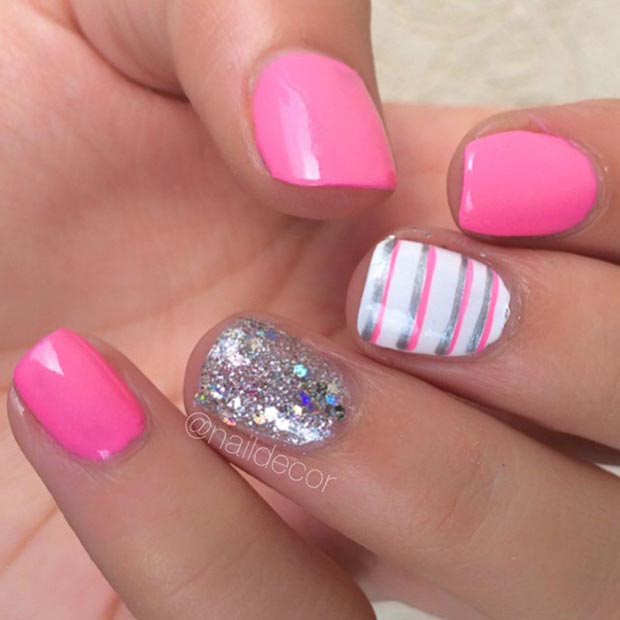
5. Stripes
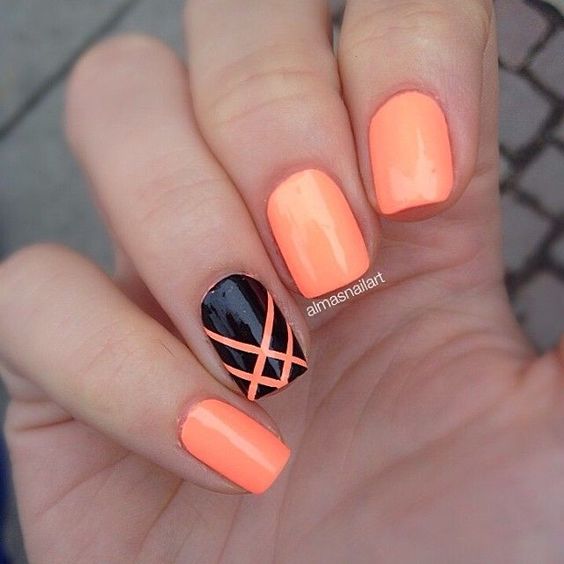
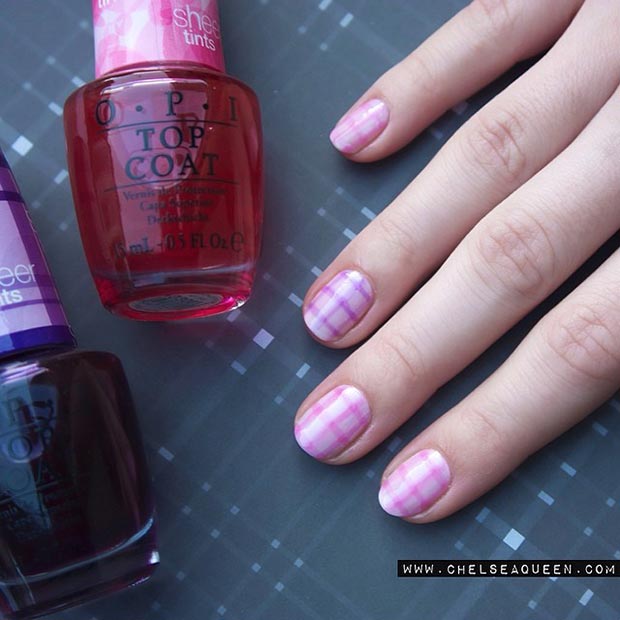
You can create stripes like the criss-crossed lines above using thin nail tape. This type of tape is specifically designed for DIY nail designs like this.
First, paint your nails with a bright base color. After that polish has dried, apply the thin nail tape (which you can buy online or in any beauty supply store) in your desired striped design. Paint over the tape with a new, darker color. Once that polish has dried, peel off the tape gently and reveal your flawless stripes.
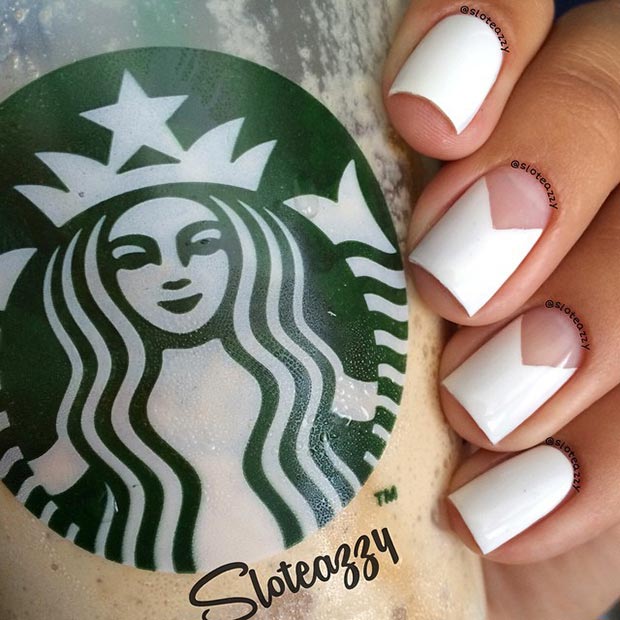
6. Cut Outs
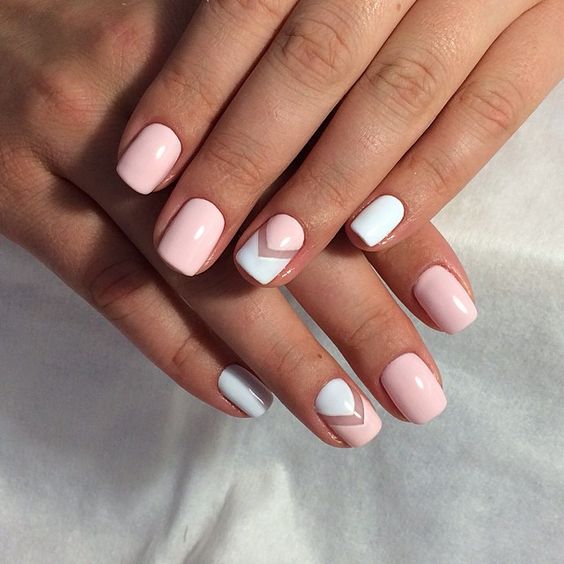
Create cut outs on your nails using thin nail tape as well. Don’t apply a base polish before applying the tape. Arrange the thin nail tape in your desired design. Then, apply polish over the tape, wait for it to try, and peel it off to reveal a stylish cut out.
Make sure to finish off your cut out nails with a clear top coat to add smooth shine to your whole nail.
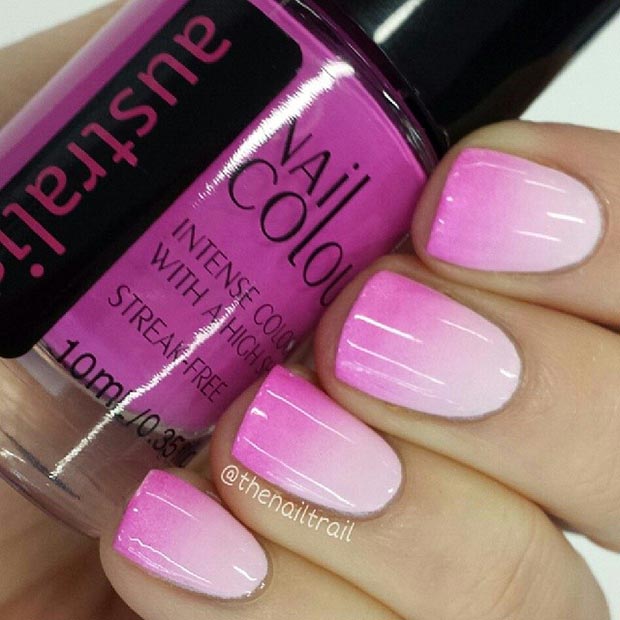
7. Ombré
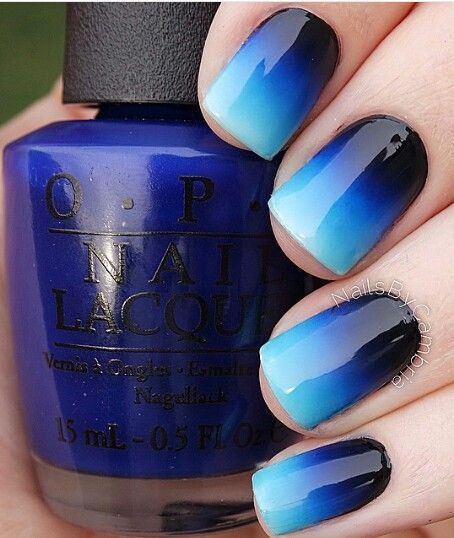
Ombré nails are easy to achieve with a makeup sponge. Simply apply a dark base coat of polish, and apply lighter shades of polish with the makeup sponge as you progress up toward the tip of your nail.
Finish with a clear top coat to connect and smooth the whole look together with a shiny finish.
8. Paw Prints
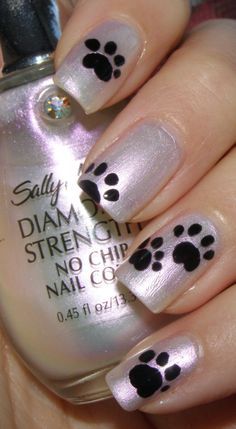
If you’re an animal lover, paw prints are a super cute design to add to your manicure.
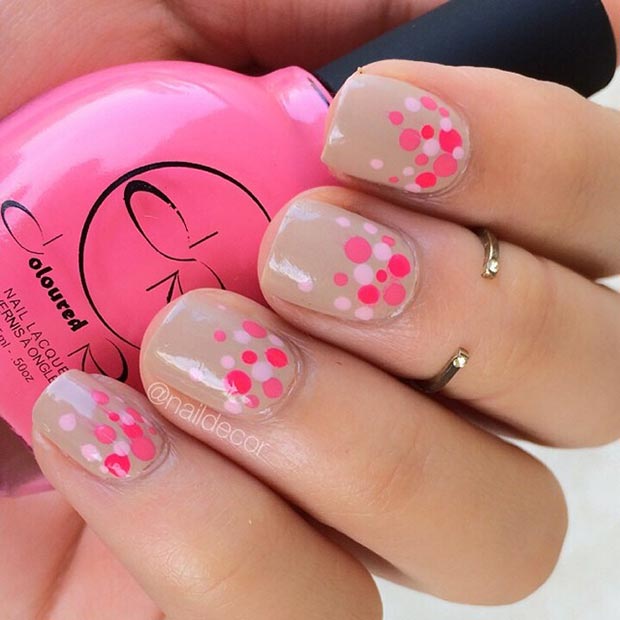
You can use the head of a pin again to create four smaller polka dots above two larger connected polka dots over a base polish color to create an adorable paw print look.
9. Glitter Bottoms
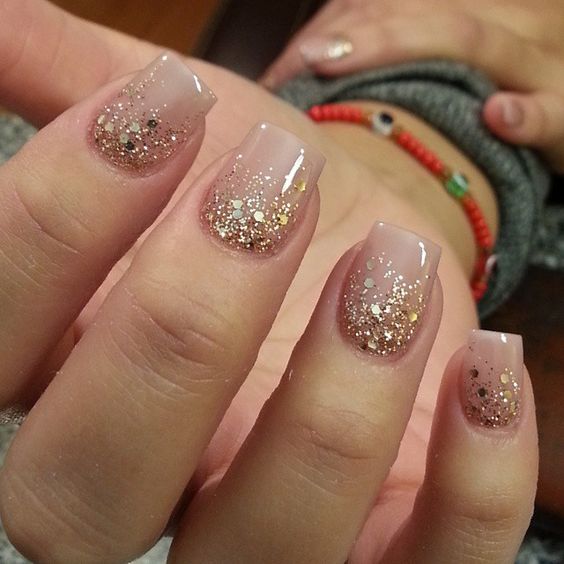
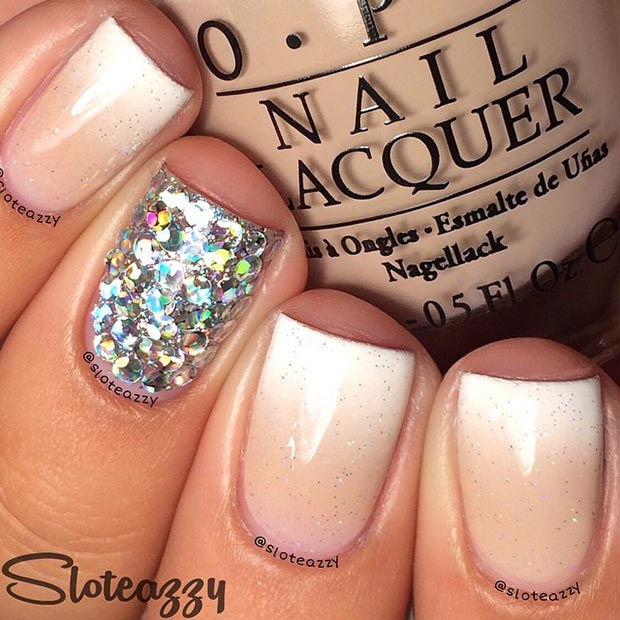
To achieve this modern, glitzy glitter look, simply use a makeup sponge to apply glitter polish to the bottom of your nails over a base polish color.
Don’t forget to apply a clear top coat to smooth out the roughness of the glitter polish on the surface of your nails.
10. Accent Nail
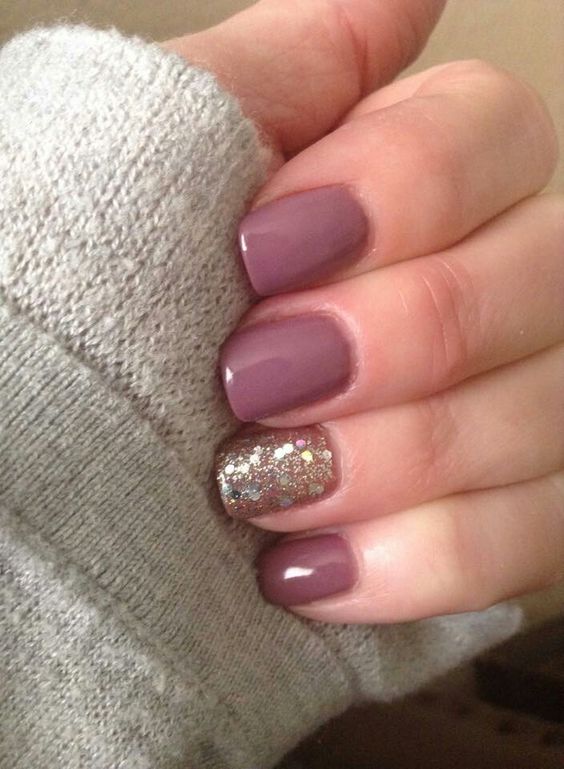
An accent nail is by far the easiest nail design you can apply at home. However, it is also beautiful its own simplistic and sophisticated way.
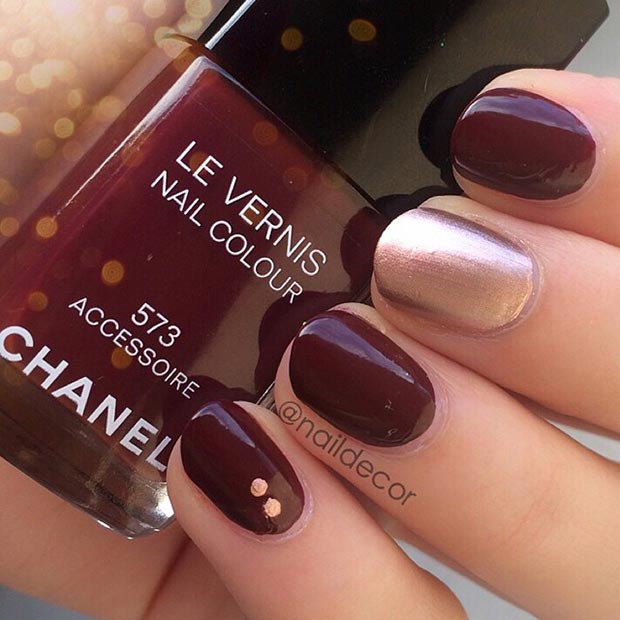
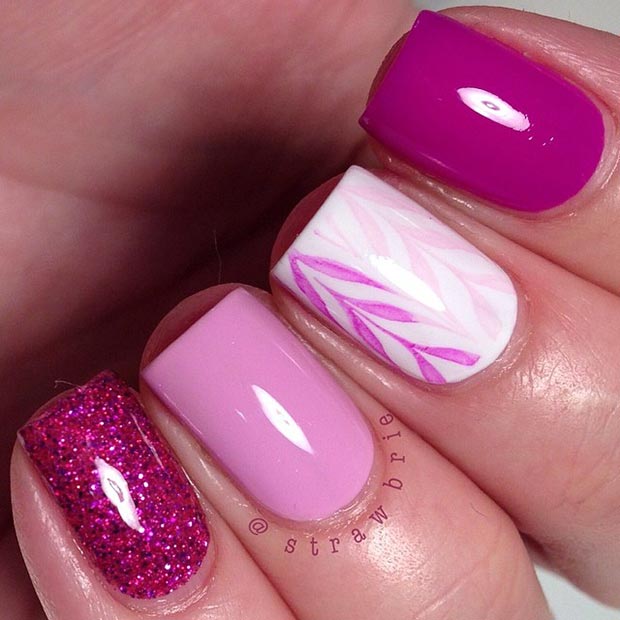
Simply paint all but one of your nails one color. Keep it a neutral color like the lavender pictured above. Then, apply a darker, brighter, or glittery color to your one bare nail to create a unique accent nail that adds interest to your manicure.
If you’re looking for ideas to spice up your standard manicure or pedicure, look no further than this article. Use this post to learn about ten easy nail designs you need to try to amp up your manicure or pedicure effortlessly.
Update: And we added more nail ideas today, enjoy.
Instagram / chelseaqueen
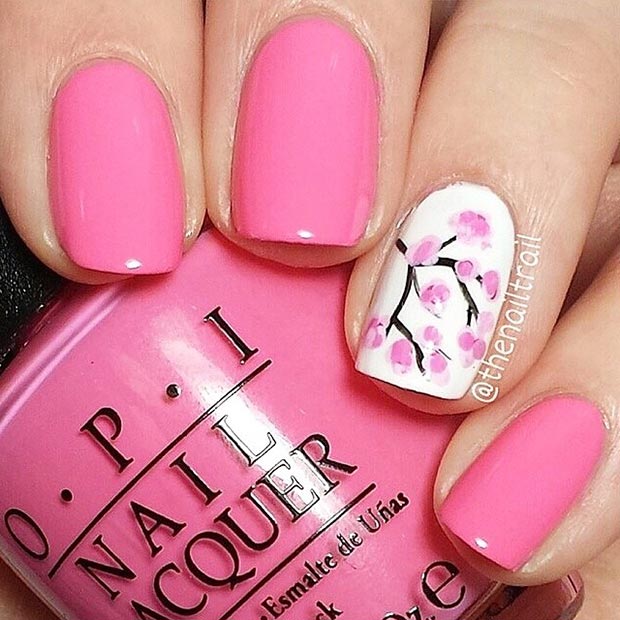
Instagram / thenailtrail
Instagram / sloteazzy
Instagram / chelseaqueen
Instagram / naildecor
Instagram / thenailtrail
Instagram / so_nailicious
Instagram / naildecor
Instagram / sloteazzy
Instagram / chelseaqueen
Instagram / naildecor
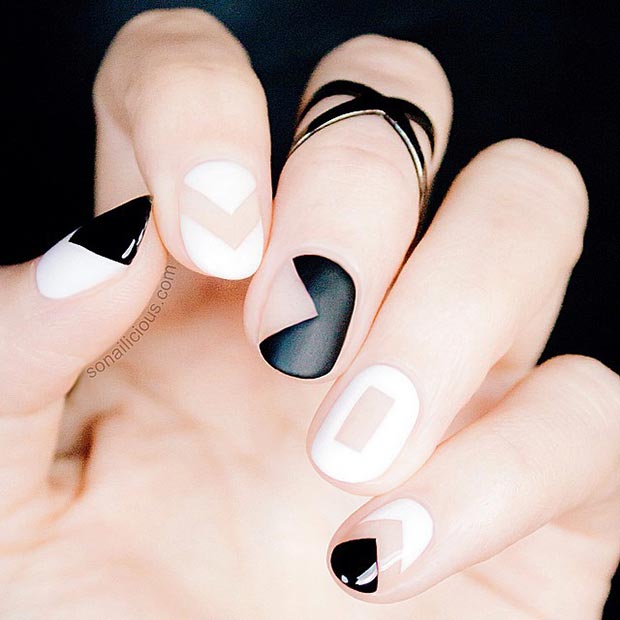
Instagram / so_nailicious
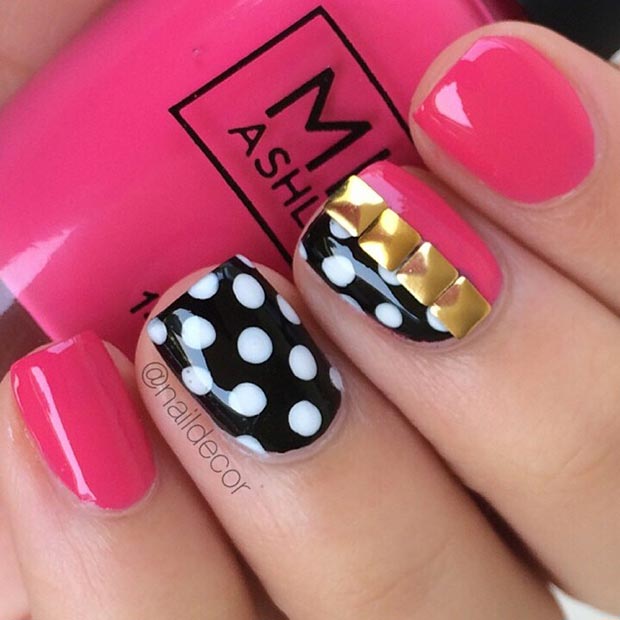
Instagram / naildecor
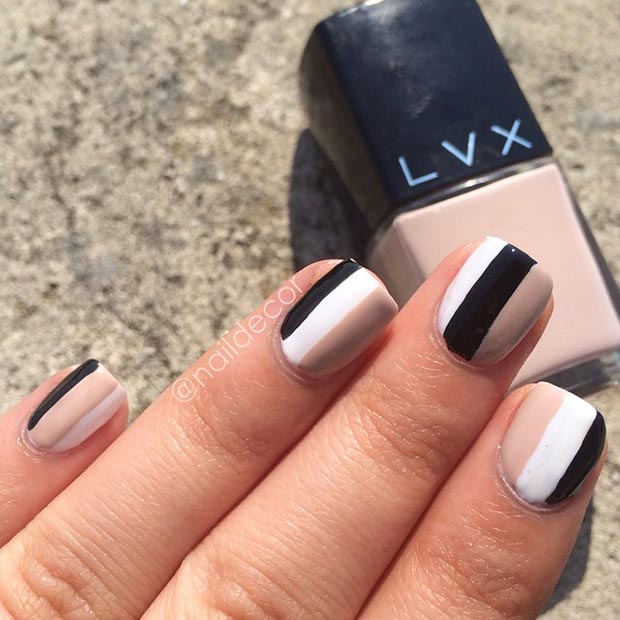
Instagram / naildecor
Instagram / strawbrie

